Roast Pork on a Weber Kettle Rotisserie
Table of Contents
Perfect Rotisserie Roast Pork on a Weber Kettle
Cooking pork on a rotisserie over charcoal is a cooking method that promises rich, smoky flavours and incredibly crispy crackling. Using a Weber Kettle Rotisserie, you can achieve a succulent roast that’s perfect for any gathering. Here is how I created a mouth-watering rotisserie roast pork, cooked low and slow over lump gidgee charcoal for 5 hours. This method ensures a deliciously tender and flavourful result every time.

If you are interested in buying or want to see some more information on the rotisserie accessory for your weber or any other 57cm kettle BBQ click on the button below
Ingredients
- 1 whole pork roast (approx. 2.5-3 kg)
- Sea salt
- Olive oil
- Lump gidgee charcoal
Equipment
- Weber Kettle Rotisserie
- Meat thermometer
- Aluminium foil
Instructions
Preparation (Day Before Cooking):
- Drying the Pork: Begin by thoroughly drying the pork roast with paper towels. Removing excess moisture is crucial for achieving crispy crackling.
- Salting the Pork: Generously coat the entire pork roast with sea salt. The salt will draw out moisture from the skin, which helps to form a crunchy crackle.
- Resting in the Fridge: Place the salted pork roast on a rack over a tray in the fridge. Leave it uncovered for 24 hours. This dry brining process not only enhances the flavour but also improves the texture of the crackling

Setup the Weber Kettle BBQ:
- Lighting the Charcoal: Light the charcoal and allow it to heat until the coals are ashed over and glowing. This process can take about 20-30 minutes.
- Charcoal Arrangement: Fill your Weber Kettle with lumpy gidgee charcoal, arranging it on either side of the grill to create an indirect heat zone. This setup prevents direct heat from scorching the pork.
- Setting Up the Rotisserie: While the charcoal is heating, skewer the pork roast onto the rotisserie rod. Ensure its centred and secure it tightly with the forks to prevent wobbling during cooking.

Initial High-Heat Roast:
- Starting the Rotisserie: Place the rotisserie rod on the grill and start the rotisserie motor. Ensure the pork is rotating smoothly and evenly.
- High-Heat Cooking: Cook with the lid on at 220°C (428°F) for the first 30 minutes. This high heat is essential for forming the crackling. Keep an eye on the temperature and adjust the vents if needed to maintain the desired heat.


Low and Slow Cooking:
- Reducing the Heat: After the initial 30 minutes, remove the lid and leave off for the rest of the cooking duration. This lower temperature allows the pork to cook slowly and evenly.
- Cooking Time: Continue cooking the pork low and slow for approximately 5 hours. Use a meat thermometer to monitor the internal temperature, aiming for around 75°C (167°F). Slow cooking ensures the meat stays tender and juicy while developing a deep, smoky flavour.

Resting the Roast Pork:
- Wrapping in Foil: Once the pork reaches the desired internal temperature, carefully remove it from the rotisserie and wrap it in aluminium foil. Wrapping helps retain heat and moisture.
- Resting Period: Let the pork rest for 30 minutes. This resting period allows the juices to redistribute throughout the meat, resulting in a moist and flavourful roast pork.

Serving:
- Carving the Pork: Unwrap the pork and transfer it to a cutting board. Carve the pork into slices, being careful to keep the crispy crackling intact.
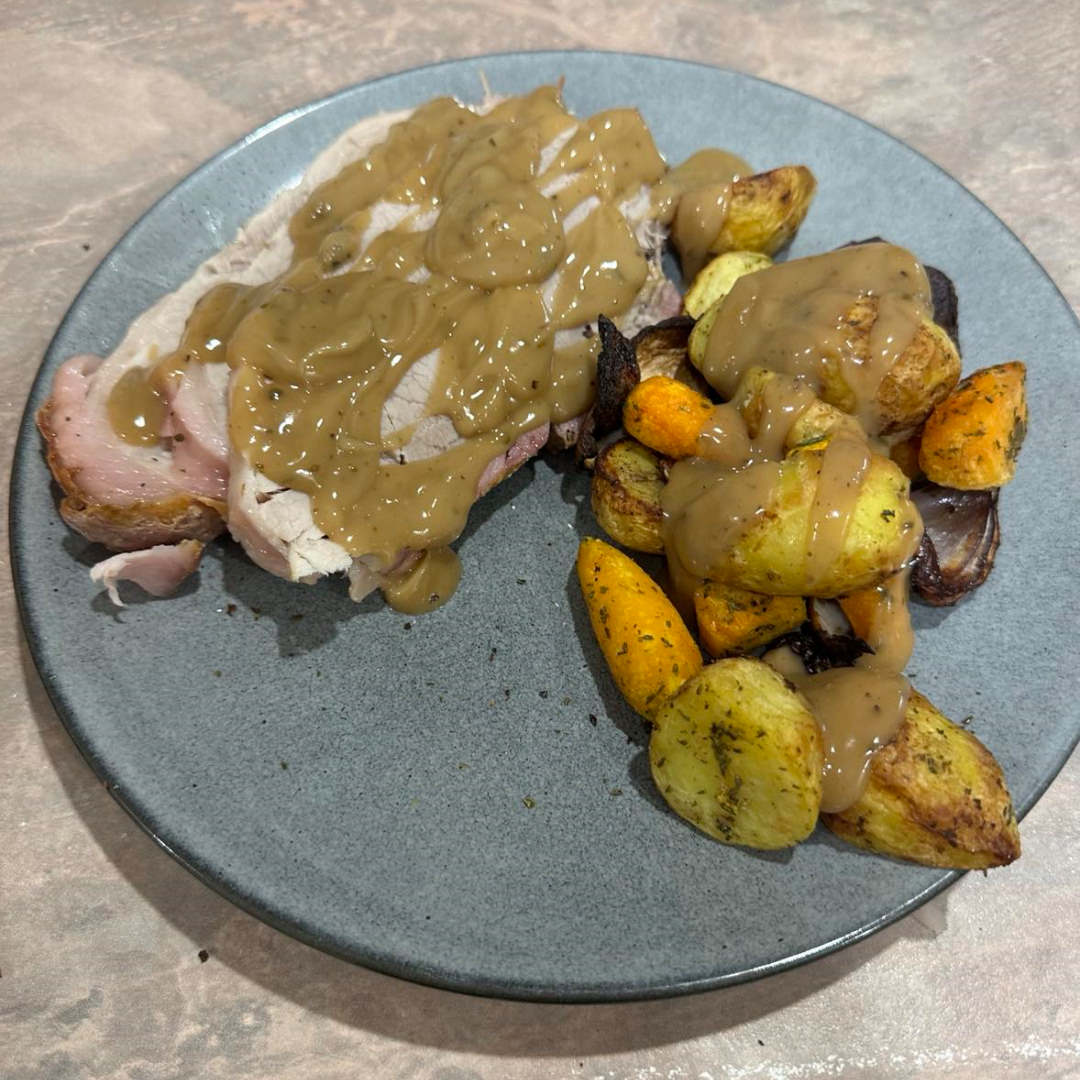
- Accompaniments: Serve the roast pork with roasted vegetables and pan juice gravy. Roasted potatoes, carrots, and onions are excellent choices that complement the rich Flavours of the pork.

Notes and Tips:
- Charcoal Choice: Lump gidgee charcoal is preferred for its long-burning and high-heat properties. It adds a distinct smoky flavour to the meat, enhancing the overall taste of the roast.
- Maintaining Temperature: Keep an eye on the temperature throughout the cooking process. Adjust the vents as necessary to maintain consistent heat. If the temperature drops too low, add more charcoal to keep the heat steady.
- Crackling Perfection: If the crackling isn’t as crispy as desired after the initial high-heat period, you can increase the temperature again for the last 10-15 minutes of cooking. Alternatively, remove the skin and place it under a hot grill for a few minutes to crisp up the crackling.
- Resting is Key: Don’t skip the resting period. It’s essential for juicy, tender meat. Resting allows the meat fibres to relax and reabsorb the juices, making every bite deliciously moist.
- Gravy Tip: Collect the drippings from the rotisserie tray and use them to make a rich pan juice gravy. Simply deglaze the tray with some stock or wine, reduce it down, and season to taste. The gravy will have a deep, smoky flavour that perfectly complements the pork.
By following these detailed steps, you’ll impress your guests with a delicious rotisserie roast pork that’s bursting with flavour and topped with perfect crackling. Enjoy this cooking journey and the rewards of a beautifully cooked meal!
For a recipe on a beef topside roast on the weber kettle rotisserie click the link below
For a detailed guide on charcoal cooking click the button below


Leave a comment